
Ashley Makes: DIY Minecraft Sword
My little sister loves Minecraft. She also loves handmade gifts from her big sister. For her birthday present, I made a Minecraft sword. The sword complements the wooden Minecraft torches I made a few months ago. You can check out the tutorial here. In this post, I’ll share steps for creating a sword of your own from a 1×12 board!
(For sneak peaks on upcoming projects follow me on Facebook and Instagram!)
Disclosure: This posts contains affiliate links.
Tools and Supplies
The following items are some of the tools and supplies I gathered to create the sword:
- 1×12 board 24 inches long
- Graphing paper
- Sander
- Ruler
- Scroll saw
- Painters tape
- Acrylic Craft Paints (I used Delta Ceramcoat paints)
- Brown Iron Oxide
- Bambi Brown
- Burnt Umber
- Raw Sienna
- North Sea
- Mermaid Blue
- Tahiti Blue
- Midnight Blue
- Daddy Van’s Beeswax (for sealing the project)
- Cotton Terry Cloth Applicators
Making the Sword
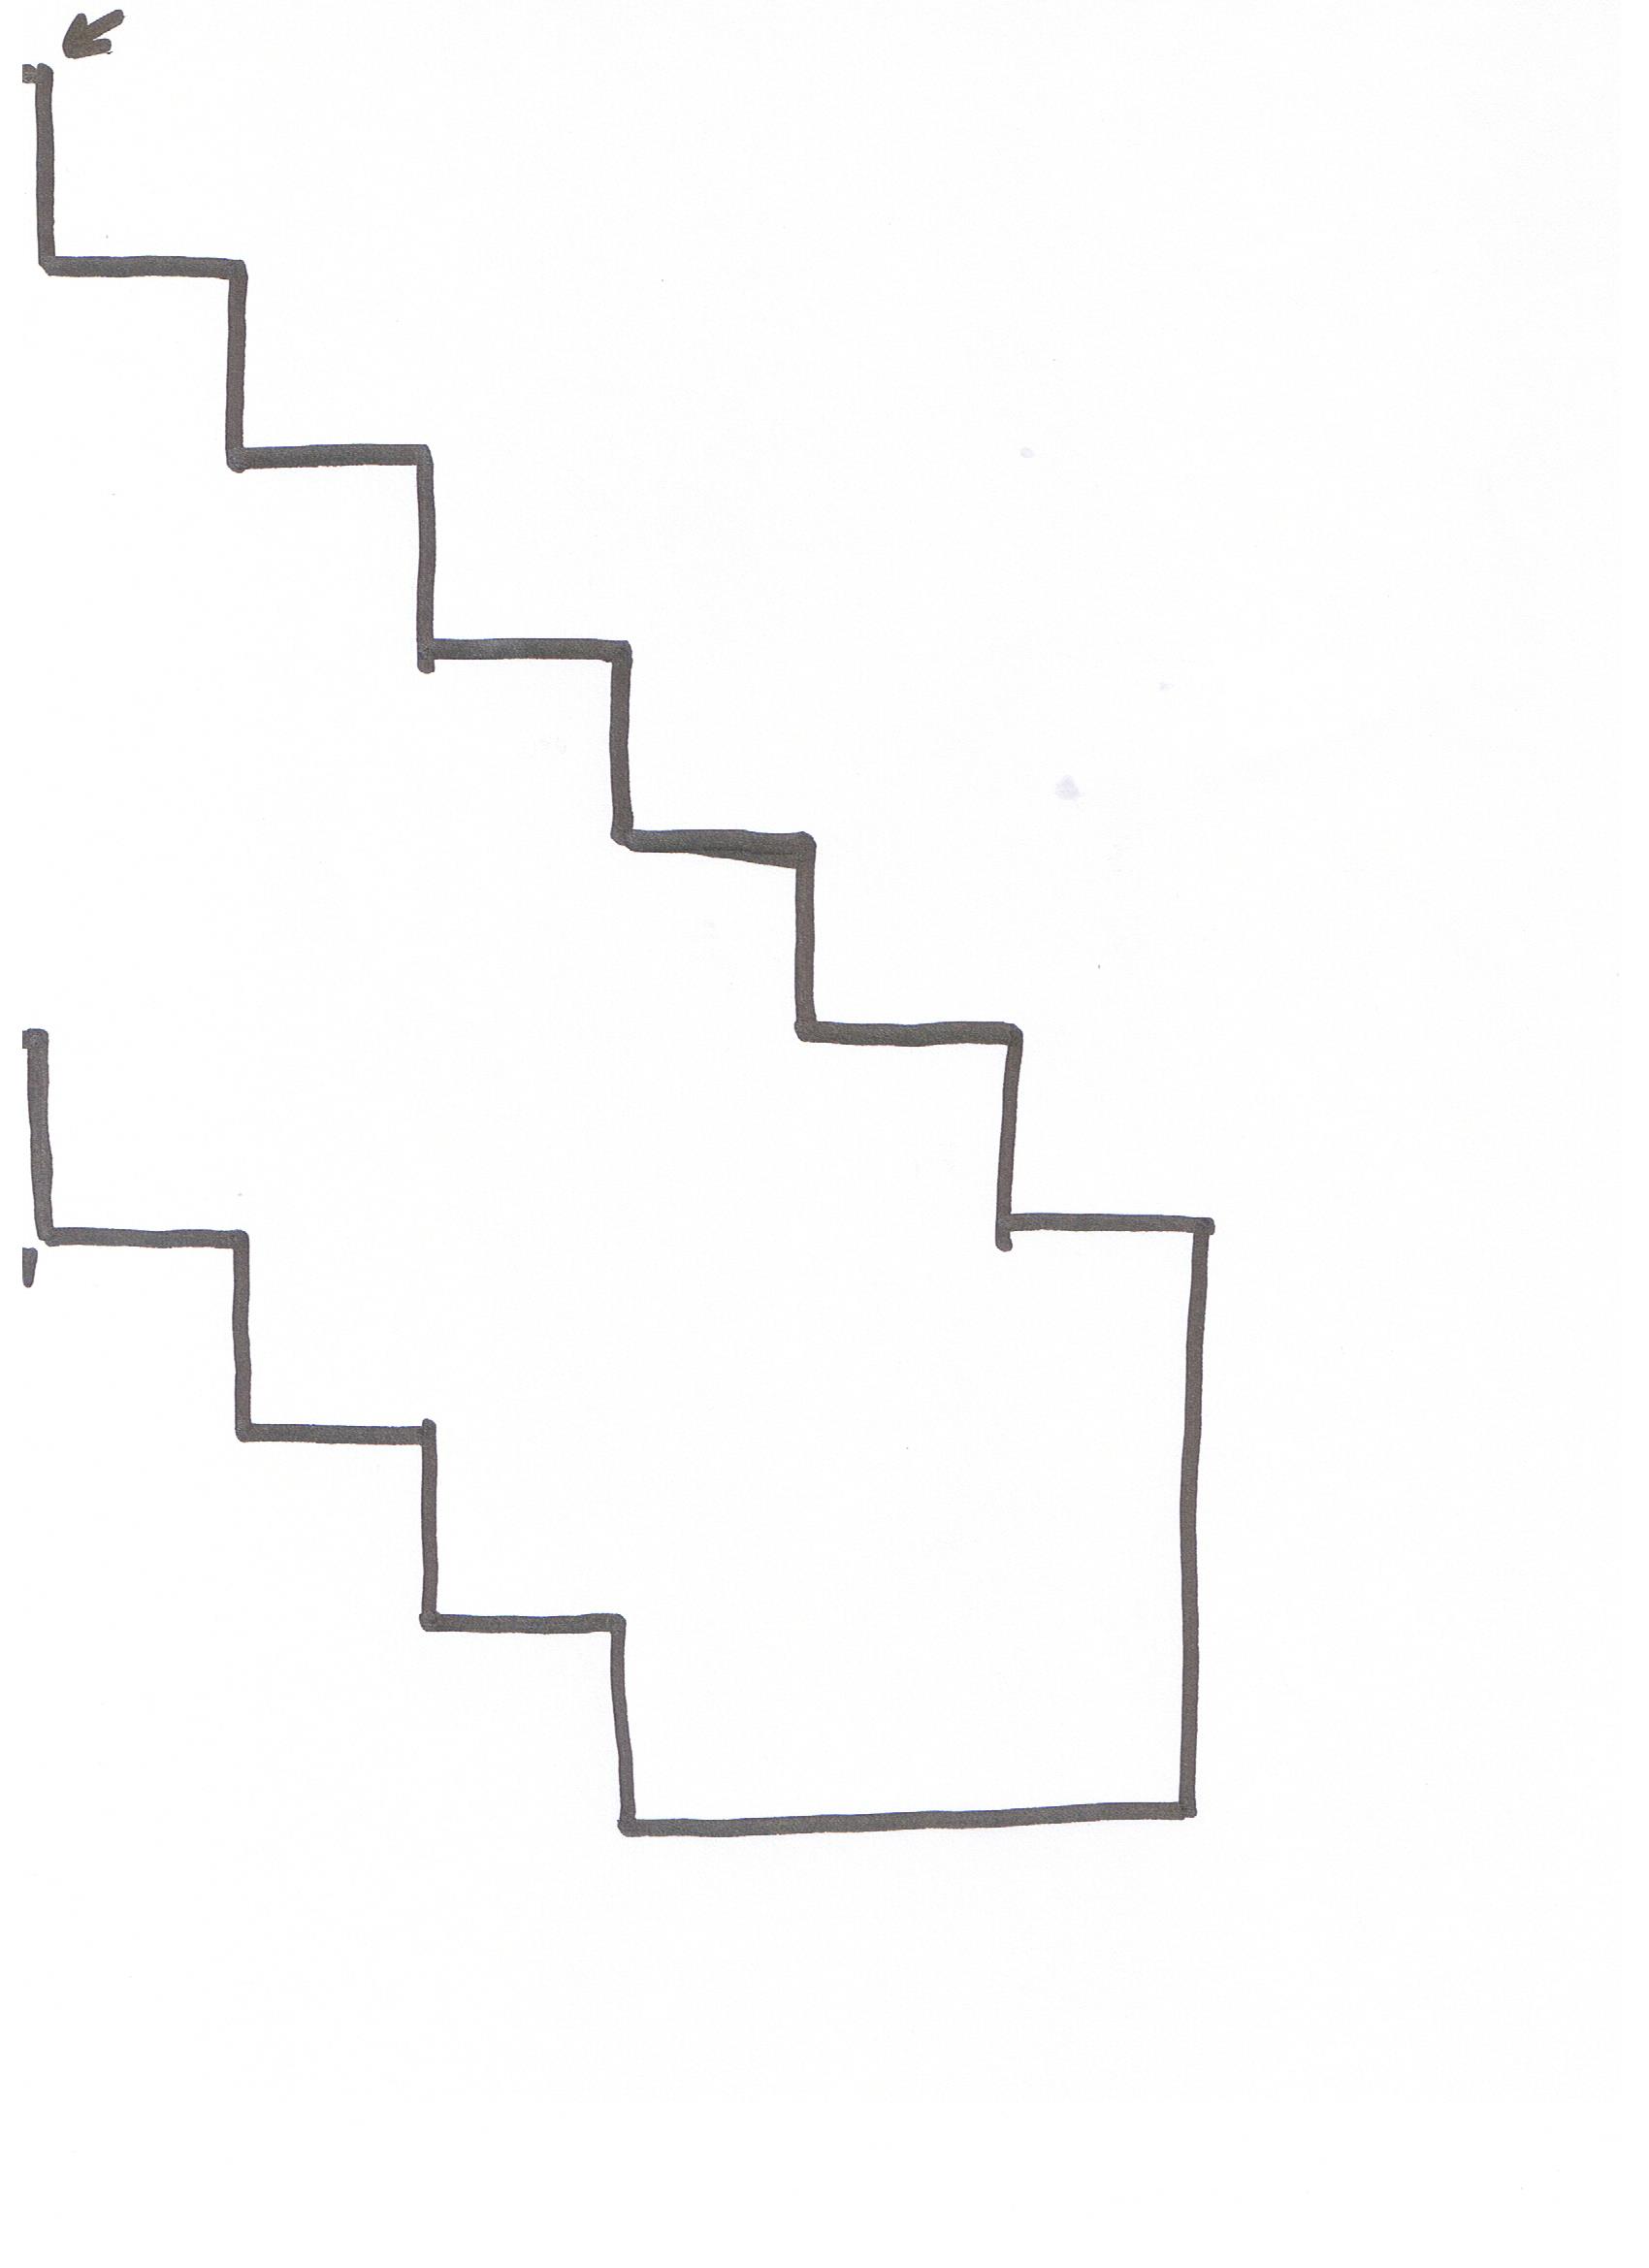
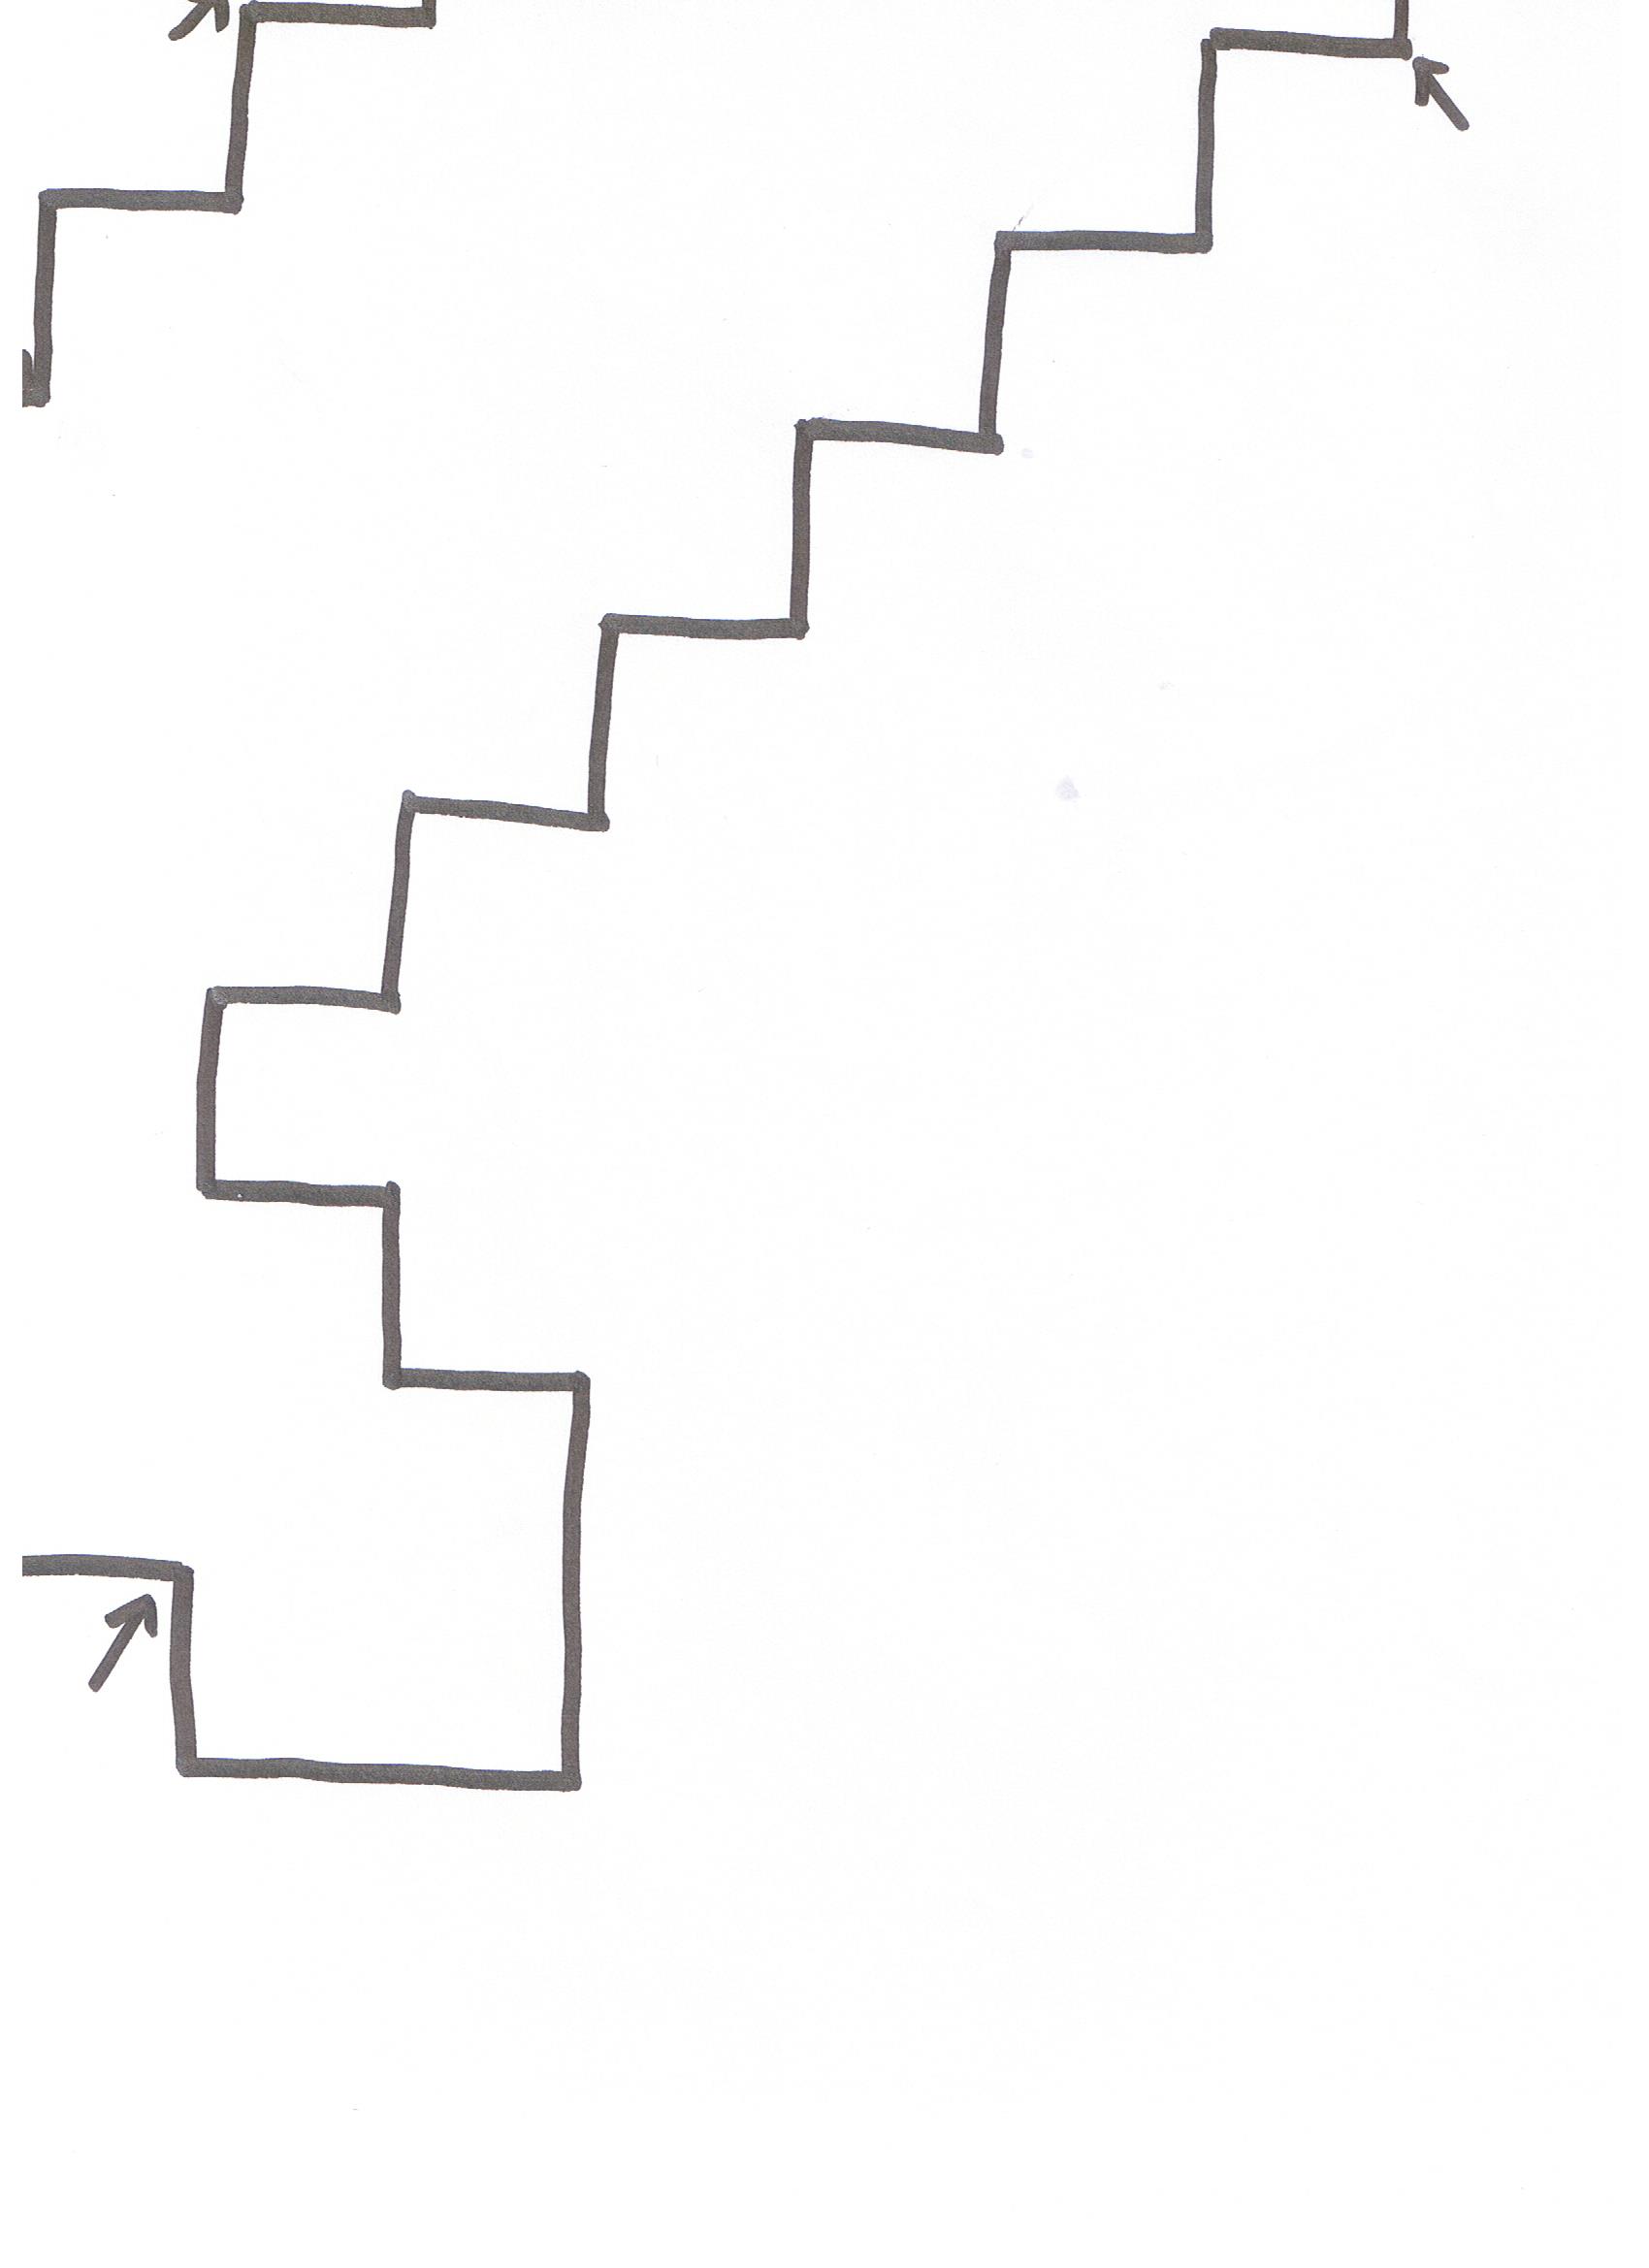
Step 1: Create sword pattern
With a straight edge, a pen and an image of the Minecraft sword, I created a pattern on graphing paper. Each pixel is 1 inch by 1 inch. The sword is 11 inches wide and about 22 inches long.
I scanned my pattern and it’s available here:

Minecraft sword pattern

Sword pattern cut out
Step 2: Trace sword pattern onto 1×12 board
Next, I traced the sword outline onto the 1×12 board.

Sword outline traced onto 1×12 board
Step 3: Cut out sword shape
I used my scroll saw to cut out the shape of the sword. I think a band saw would have been a more appropriate tool, but alas, I do not own one. Cutting straight lines with a scroll saw was a bit challenging because of blade drift. However, this was an excellent project for gaining experience with cutting along a line.

Removed excess wood with jig saw

Sword cut out

Sword cut out
Step 4: Sand the sword
I used my orbital sander to sand the sword. I took a few shortcuts and it shows, so make sure you take your time and do a thorough job sanding.
Step 5: Draw grid lines on the sword
Next up, I drew one inch grid lines on each side of the sword.

Grid lines
Step 6: Paint the pixels
I painted each cell with acrylic paint. This part was a bit tedious, especially when I tried to be neat and tape off the cells. I used the following colors from Delta Ceramcoat:
- Brown Iron Oxide
- Bambi Brown
- Burnt Umber
- Raw Sienna
- North Sea
- Mermaid Blue
- Tahiti Blue
- Midnight Blue

Painting in progress

One side complete
Step 7: Seal the project
I used Daddy Van’s Beeswax to seal the sword.
The Finished Sword
I am pretty pleased with how the sword turned out. The wood is heavier than I thought. Swinging requires a bit of effort.

The finished Minecraft diamond sword


DIY Minecraft sword


Hahaha! That is the coolest thing I’ve seen all week!!!! I need to make these for my son and duaghter. Way to go Ashley!
thank you! 🙂 I have a couple of foam versions in the works too 🙂
You should wave this at the guard the next time you drive to work…